This tutorial will teach how to manage standard Resources in FaçadeSignage, like videos and images, and how to add multiple cropping regions.
Other types of resources will be covered in another tutorial.
Quick add
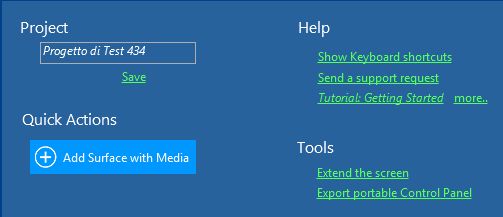
While in the Dashboard, as soon as a project is started, you can click on the action Add Surface with Media, this will ask you which file to add, and will automatically create a new surface in the current set with that resource.
Media Resources tab
More advanced options are accessed with the Media Resources tab.

Here, all the available resources for the current project are listed in the first dropdown list, with a thumbnail, a title and a type.
We will cover only Local Resources, that are just references to files in the local machine filesystem.
When you add them to the project they will not be copied, but just referenced from their current location and, if they are deleted, the original file will not be touched.
You can add media using Add Local File action, and browsing the filesystem.
When a media resource is added, it will automatically create a thumbnail. If you add a video file, a thumbnail from the very first frames will be taken, otherwise you can get another thumbnail selecting a different position with the slider.
Note: If you are working on a remote player resources must be uploaded to the target machine using the Library File resource type.
Cropping Regions
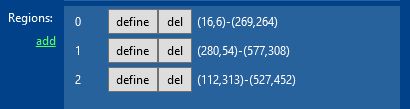
Resources can have one or more cropping regions, these will be used instead of the whole frame when selected in the Sets and Surfaces tab.
When you add a new region, it will be set to the full size of the media which you can then change using the Define button.
With the first mouse click the upper-left corner is set, while the second mouse click sets the lower-right corner.
The exact dimensions can be manually changed with the textboxes.
If images have a big size, you can also scroll the content during the corner definition.
The region can be then finely modified using the arrow keys to move the previous corners.
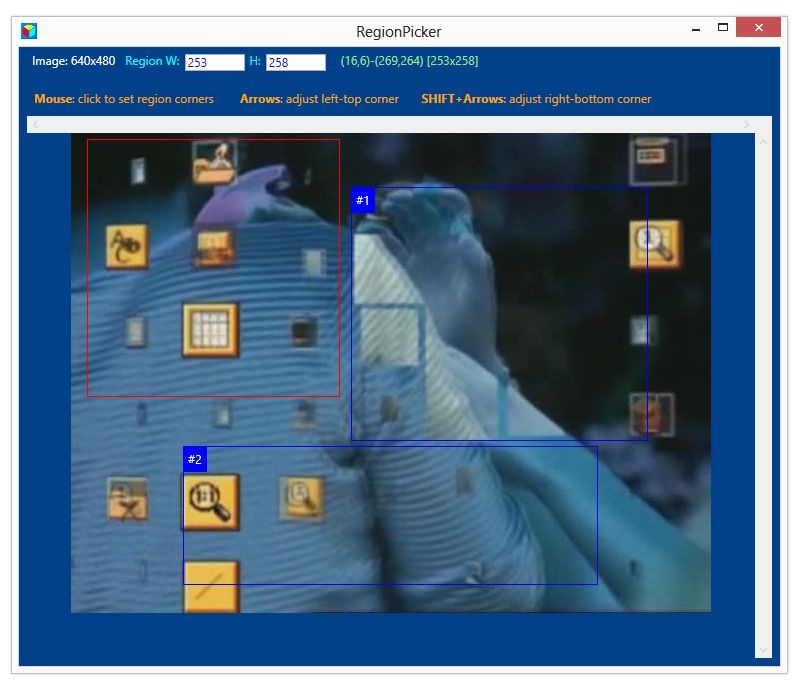
When you are done with the definition you can click on the tick button and close the window.
Now the resource is available and can be assigned to an existing Surface.
Assigning the Resource to a Surface
In order to assign the resource to a surface switch to the Sets and Surfaces tab, and select the resource name from the dropdown list in line with the surface.
As soon as you modify it the player will synchronize reflecting the changes.

Please note that you can assign different resources to the same surface using the Cues and animating them. The Cue system will be covered in another tutorial.
Clicking with the right mouse button on the resource name, you are given the options to:
-
Edit the resource, a shortcut to the Media Resources tab.
-
Clear the resource, leaving the surface without an assigned one.
If the resource has one or more cropping regions defined, you can also select the Region Index in the same line.
